Oh wow.
It's sunny. And WARM. I can't help but hope that summer is actually here. Oh course, it's perfect weather to finish up something massive and wooly.
A thank you gift for Mr. Munchkin's teacher. She's been beyond phenomenal, and this Gap-tastic cowl is just part of the homemade gifts that we'll be giving her. Excuse my crappy hair styling, I'm not really sure what to do with it these days.
Since the weather's been so rotten, I've been hiding in my sewing room. Lots of project bags (gifts for my fellow Odd Duck mods!).
Simple linen drawstring bags, filled with some wonderful stuff. That will have to stay a surprise for a bit longer, as I'm not mailing anything until the Canada Post strike is over. *sigh*
Also. The Viking Project is almost complete. For Mr. Munchkin - I just need to hem his pants. For Ms. E - her dress is done! And for Mr. Ninja - Tunic and pants are complete. As for myself...well. Things are not going swimmingly.
So, I finished my dress. And decided that I didn't like the beige. Purple was mentioned at the dinner table as a nice option. I pulled out my Procion dyes and set to work. What I didn't anticipate was how trashed the dress would get in the washing machine.
GAH.
...
At least it looks lived in, eh?
Luckily, I needed to shorten the sleeves anyway, so I should be ok. However, if you hear wailing and gnashing of teeth coming from Dartmouth way...it's probably me. Send chocolate, please.
Killing off brain cells in the name of efficiency and greater operational capacity. Or something like that.
Tuesday, May 31, 2011
Tuesday, May 17, 2011
The Viking Project - Day 2
Well, technically...it's been a whole lotta days. But for consistency's sake, let's just stick with the format.
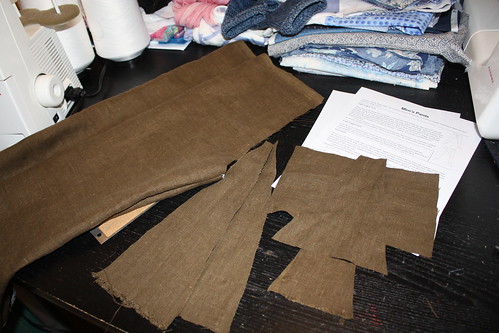
So, on the second day, I wanted to finish off Mr. Munchkin's pants. Hoping to be authentic, I worked from a fairly well researched SCA handout on men's clothing. All that I had to work with was a sketch of a pair of pants found in a Danish peat bog in Thorsbjerg.
I must say, I do like things from Denmark.
Lego.
Bang and Olufsen sound systems.
Viggo Mortensen.
Anyway, back to the sewing. Winging it, I cut out what I thought would approximate the pieces.
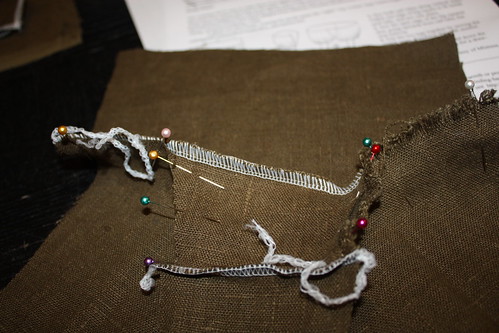
And proceeded with one hell of a jigsaw puzzle.
The resulting pants are ... serviceable. Not ideal, but they'll work. With copious amounts of elastic and a very strong drawstring.
Next, a little dress for a little maiden.
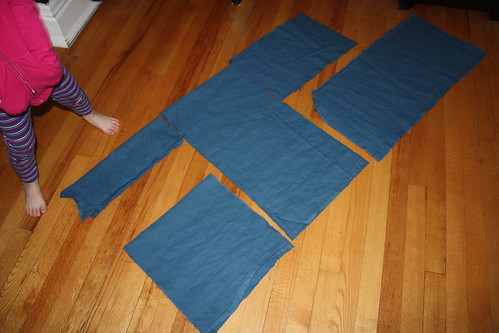
As I've been working away on these projects, I'm finding myself far more willing to toss period accuracy out the window. (The pants might have had something to do with that.) So for Miss E's dress, I made a T-shape dress, but with square gores. As you can see, the pieces to the left of the body show what the finished sleeve and gore look like, and the pieces to the right show what they look like when initially cut out.
Like the tunic and pants for Mr. Munchkin, it's all sewn up and awaiting trim application and hemming. I'll post pics of the kids in their outfits once they're all completed and ready for the big reveal.
Next, my outfit.
To be honest, what I had been imagining just did NOT work out. As Mr. Ninja said, "It looks like you had your bodice ripped." So. You're not getting pics of the original concept. But the good thing is that I managed to salvage a cute summer dress out of it.
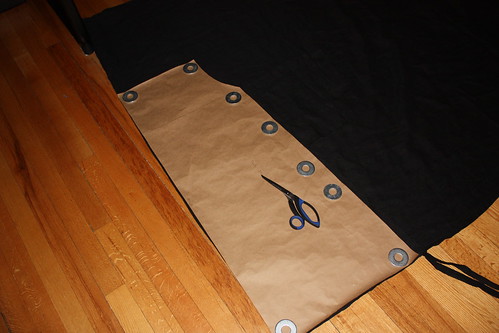
Using this tutorial, and lengthening it to a good size for a dress, I cut into the most wonderful heavy linen I've ever worked with.
The resulting dress looked rather like a paper bag. So, I sewed a casing onto the waistline and ran a ribbon through, providing some minimal shaping. And since I kept losing the ends of the ribbon in the casing, I tied on some cloisonne beads. Snagging a detail from a dress pattern that I helped Ms. Happy with this weekend, I ran a thicker ribbon through the casings at the top of the dress, tying it together in a sweet little bow.
Here's hoping that the next attempt at my outfit is a little more successful.
Wednesday, May 4, 2011
The Viking Project - Day 1
Much thought and pontification has gone into this project already.
The sheer amount of research has been a wonderful time suck, as I have learned copious amounts about what, where and how Vikings dressed themselves. While part of this research stemmed from sheer curiousity, I figure that some of it will come into play when I'm writing. So. Multi-tasking FTW!
Here's a little background into men's clothing of the Viking Era for you, as that's what I'm going to start sewing first.
What we know about Viking clothing mostly comes from images carved into runestones, jewellery, and descriptions in the Sagas. Occasionally, tiny scraps of material are found in burials - typically preserved underneath metal such as brooches or buckles. From these scraps, archeologists are able to see what kind of weave patterns were used, and sometimes even what kind of materials the clothes were made of.
Men wore an undertunic, typically made from coarse linen. Wealthier men had ones made out of silk, but these were quite rare. Over the tunic went a woolen overtunic, typically dyed and spun by the women of the household. Pants were also made from homespun wool.
Now, for my purposes - wool is right out of the question. First of all, it's bloody hot during the season that we'll be sporting the outfits. Also, wool is bulky. I have no desire to tote around big bulky wooly garments for the one or two days that they'll be useful.
So, I'm not being entirely accurate and am using very heavy, roughspun linen for the outfits. I'm making simple T tunics with gussets for the underarms and to provide some fullness at the bottom of the tunic. Pants will also be simple - drawstrings and possibly modern cut, as opposed to historically accurate gusseted pants. (What can I say, I'm both lazy and practical.)
First up is Mr. Munchkin's tunic top.
Here you can see the pieces all cut out. There is a long rectangle that is double the measurement from his shoulder to the bottom of the tunic, and the width from one shoulder to the other. In his case, the rectangle is approximately 50 inches long and 20 inches wide.
The four triangles are for the underarm gussets, and also the gussets that flare from the waist out to the bottom of the tunic, providing some fullness.
So let's get sewing!
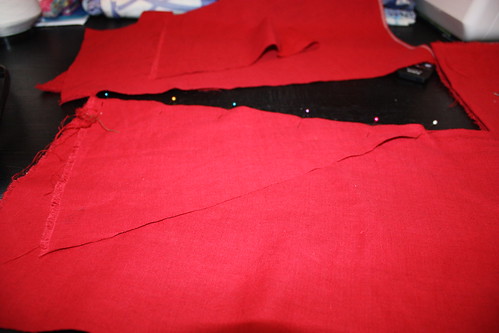
I pinned the first triangle to one edge of the sleeve, right sides together. Sewed them together, then pinned the other side of the triangle to the other side of the sleeve and repeated.
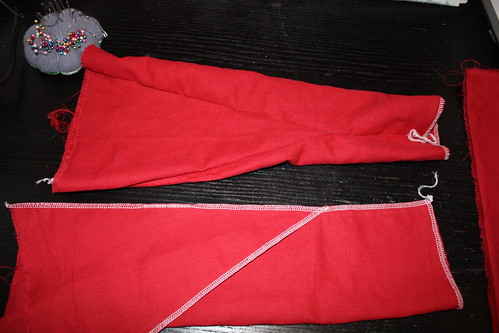
But this time, I continued sewing the sleeve together all the way down. Oh, I nearly forgot - the gusset provides room for the arm to move, but the sleeve is meant to fit tightly around the wrist. So, the rectangle that makes up the main body of the sleeve measures the length of Mr. Munchkin's arm (from shoulder to wrist), and is the width of his fist (measured around to ensure that he can get his hand through.
Repeat for the other sleeve.
Next comes the insetting of the sleeve. Being the lazy slapdash crafter that I am, I decided to insert the gussets for the bottom of the tunic at the same time.
Flipped the sleeve so that it matched to the right side of the tunic, then smushed it inside the top of the folded-over rectangle. Pinned with lots and lots of pointy objects. Made sure that the sleeve is centred so that it's aligned with the top of the tunic body.
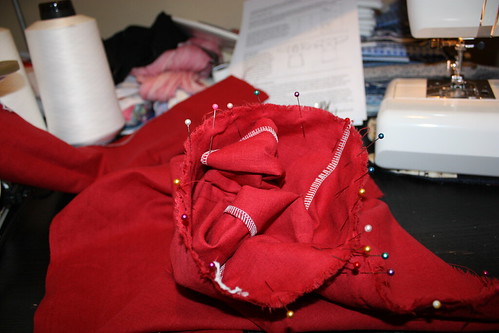
Pinned and moved onto inserting the lower gussets. It's not hard, it's done exactly the same way as the gussets for the sleeves. Only difference is that both sides are pinned into place before anything gets sewed down.
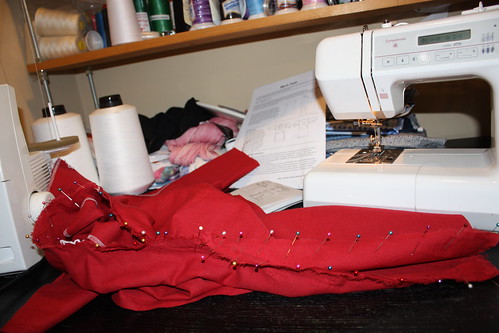
Sewed all of the pinned seams, then turned the entire thing right side out. Repeated for the other side of the tunic. Next came the neckhole. Since I'm still on the hunt for the right trim to edge the tunics with, this part is a little rougher than usual.
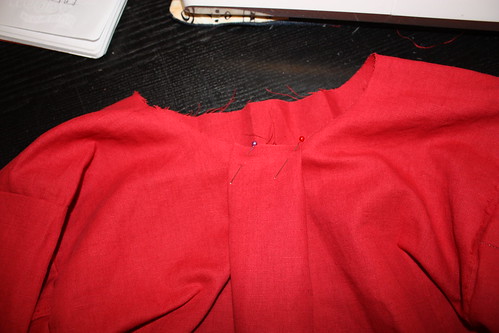
I eyeballed it, honestly. Measured in about 4 inches from each shoulder seam and cut. Of course, it was too large. Ugh. So, a small pleat in the back helped rectify that problem. A quick stay stitch and the collar is now prepped for the application of the trim.
The tunic still needs to be hemmed and the sleeves adjusted, but that can wait a little bit, just in case Mr. Munchkin decides to go on a growth spurt between now and the summer.
Pants are next on the menu, but those are a quick job once they're cut out. Y'know, I just might actually pull this off. (Yes, I'm feeling a bit cocky. I think I've earned it, people.)
Subscribe to:
Posts (Atom)