Braaaaaaaaaaaaaaaaaaaaaaaaaaaaaaaaaaaaains...
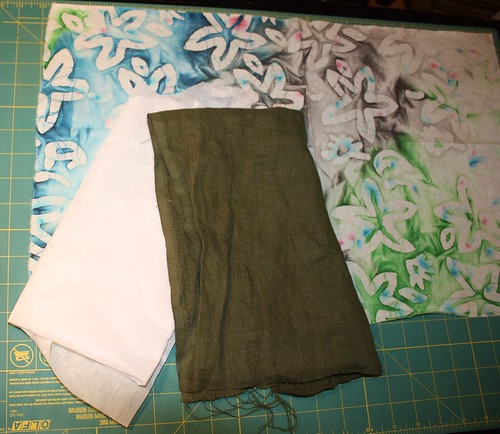
Here's what you'll need to cut:
1 outer fabric into a rectangle (mine measured 13 inches x 18 inches)
1 inner fabric, also into a rectangle (13 x 18 inches)
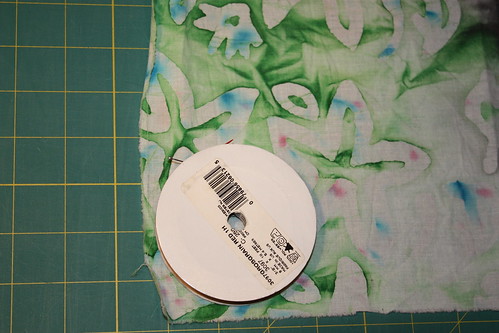
1 circle of outer fabric (I used a ribbon box that was 3 inches in diameter)
1 circle of inner fabric, same size
2 circles of fusible interfacing, same size as the fabric circles
I can't emphasize enough how important it is to press your fabrics before cutting. I had to shave almost an inch off after pressing the outer fabric 'cause I was too lazy to press it before cutting...and it didn't match the dimension of the inner fabric after I pressed it. *sigh*
Also, keep that iron handy - you'll need to iron the interfacing to the circles.
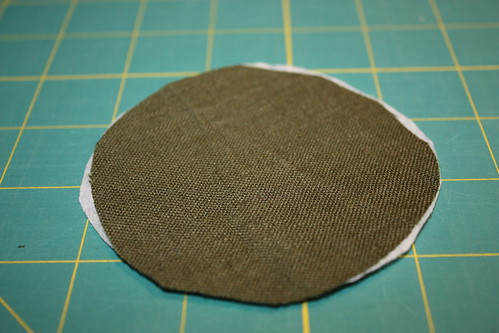
Comme ca. Trim the circles so that all the interfacing is even with the fabric. Your circles might shrink a little, but it'll be ok.
Next step, grab one of the rectangles. I worked on the outer first, but it's not important which one gets done first. I finished the edges on both of the long sides of the rectangle, but since the raw edges will be eventually hidden, you don't have to. I'm just weird that way. Sew the short sides of the rectangle together, right sides together. And you'll end up with a tube.
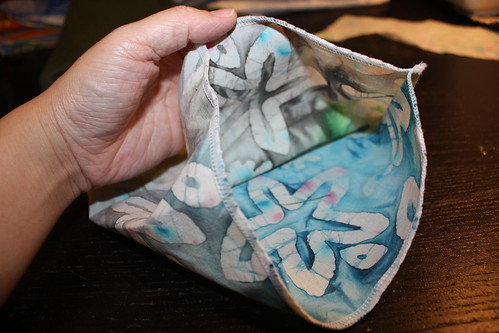
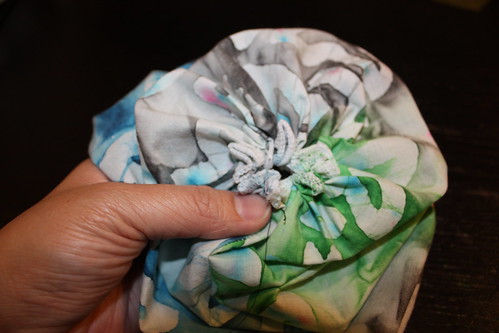
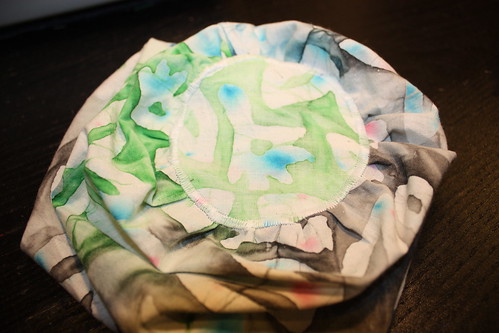
Time to gather! Since it's not a big bag, I do this by hand. Just do a running stitch along the top, and gently pull on it to tighten the stitches together. You'll end up with something that looks like this.
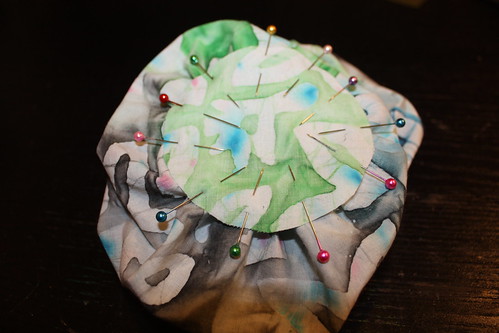
Grab the interfaced circle, and pin it on top of the right side of the gathered fabric. The more pins, the better.
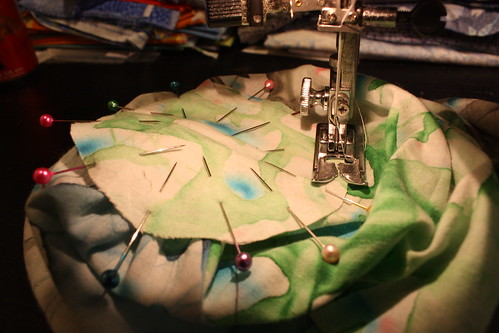
Now, you're going to be wrestling with the fabric for a bit. Just remember that sewing and alcohol are not a good mix. Sewing and swearing? Tends to go much better.
Sew a very short and wide zigzag stitch. I set my machine to 5 mm wide and .5 mm long. You're going to be appliqueing the circle to the bag.
And after the pinprick punctuated swearing session?
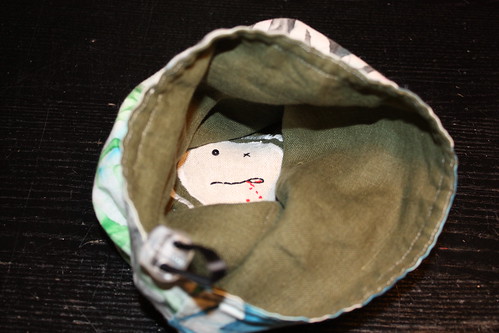
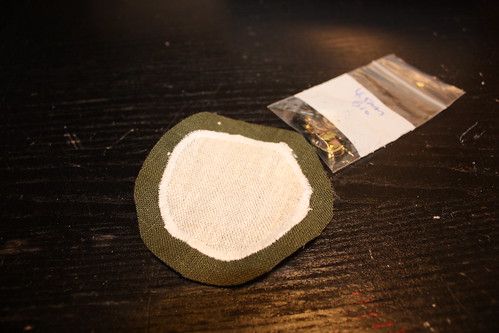
Voila. Now for the inner bag. If I'd been thinking things through before starting, I should have cut the inner fabric circle out of the cream coloured fabric. Oh well. I just sewed on a smaller circle for the zombie's head. If you were doing a ninja, you'd cut a small rectangle with rounded edges and sew it on.
You're going to put in the safety eye now.
Since the post of the safety eye is a little long, I like to trim it down a bit so that it doesn't poke through the bag. Some creative embroidery later...
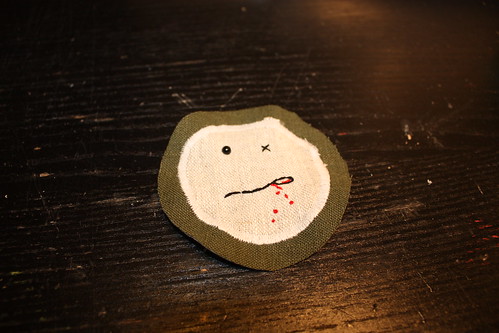
*snicker* Just so you know, french knots make excellent blood splatter.
Repeat the process of making the rectangle, gathering, pinning and applying the circle for the inner fabric.
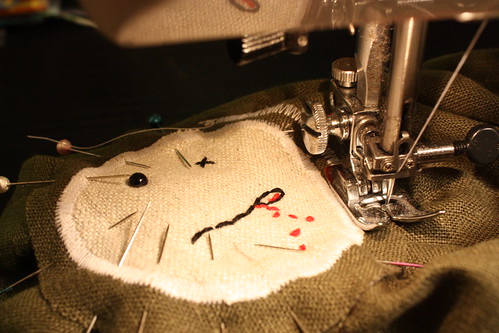
Action shot.
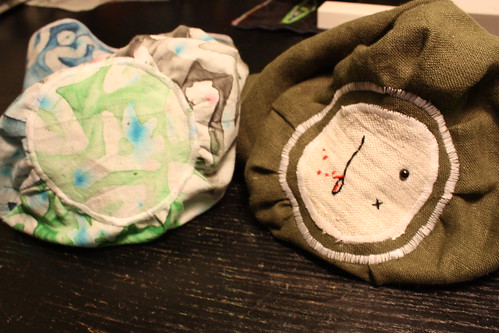
And both bags.
Next, we'll be making the casing. Fold down the top edge of each bag about 1/2 an inch. Press into place. Don't forget to give the seams of the bags a quick press while you're at it. It really does make the finished bag look a million times better.
Flip the inner bag inside out and place it inside the outer bag, wrong sides together.
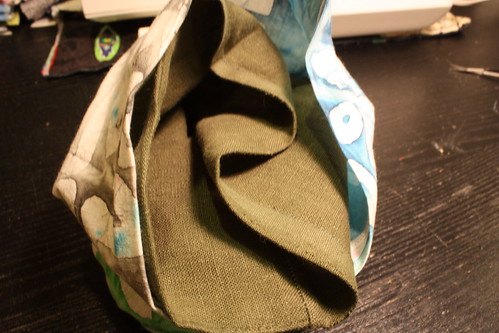
Pin the edges of the two bags together, seams matching. Get ready for some topstitching!
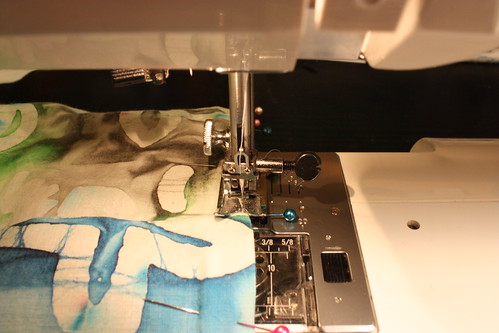
As you can see, I'm sewing *really* close to the edge. Maybe 2 mm away from the top.
Sew the bags together, leaving a small gap of about 1/2 inch between the beginning of the seam and the end of the seam. This gap will be where you thread the cord into the casing.
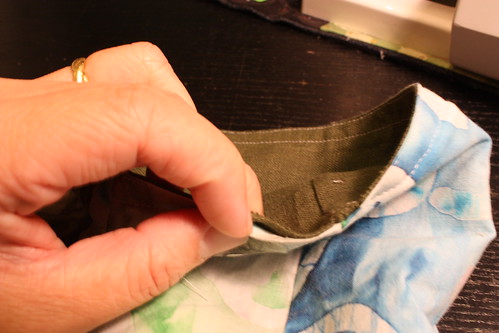
Not the best picture, but I hope it gives you an idea. Next, sew another seam around the entire bag, a little less than 1/2 inch away from the top. (Within the 1/2 inch that you had folded and ironed down earlier.) This is the bottom of your casing.
Thread a ribbon or cord through the casing and you're done! Enjoy your very own peekaboo bag!
1 comment:
Hooray! You have no idea how much this cracks me up. I'll see you soon! xo
Post a Comment